
Making 1080p screen shares look sharper
An interactive explanation of different sharpening techniques

I'm on X/Twitter at@iparaskev
Contents#
- Introduction
- Why enlarged 1080p is blurry
- How to sharpen an image
- We do not want too much sharpening
- Summary
Introduction#
There is a way to increase the perceived quality of screen sharing without using more bandwidth. In this post, I will show you how we increased the sharpness of Hopp's shared screen with a minimal rendering change. You can use the sliders below to compare the before-and-after results for 4K and 1080p shares.
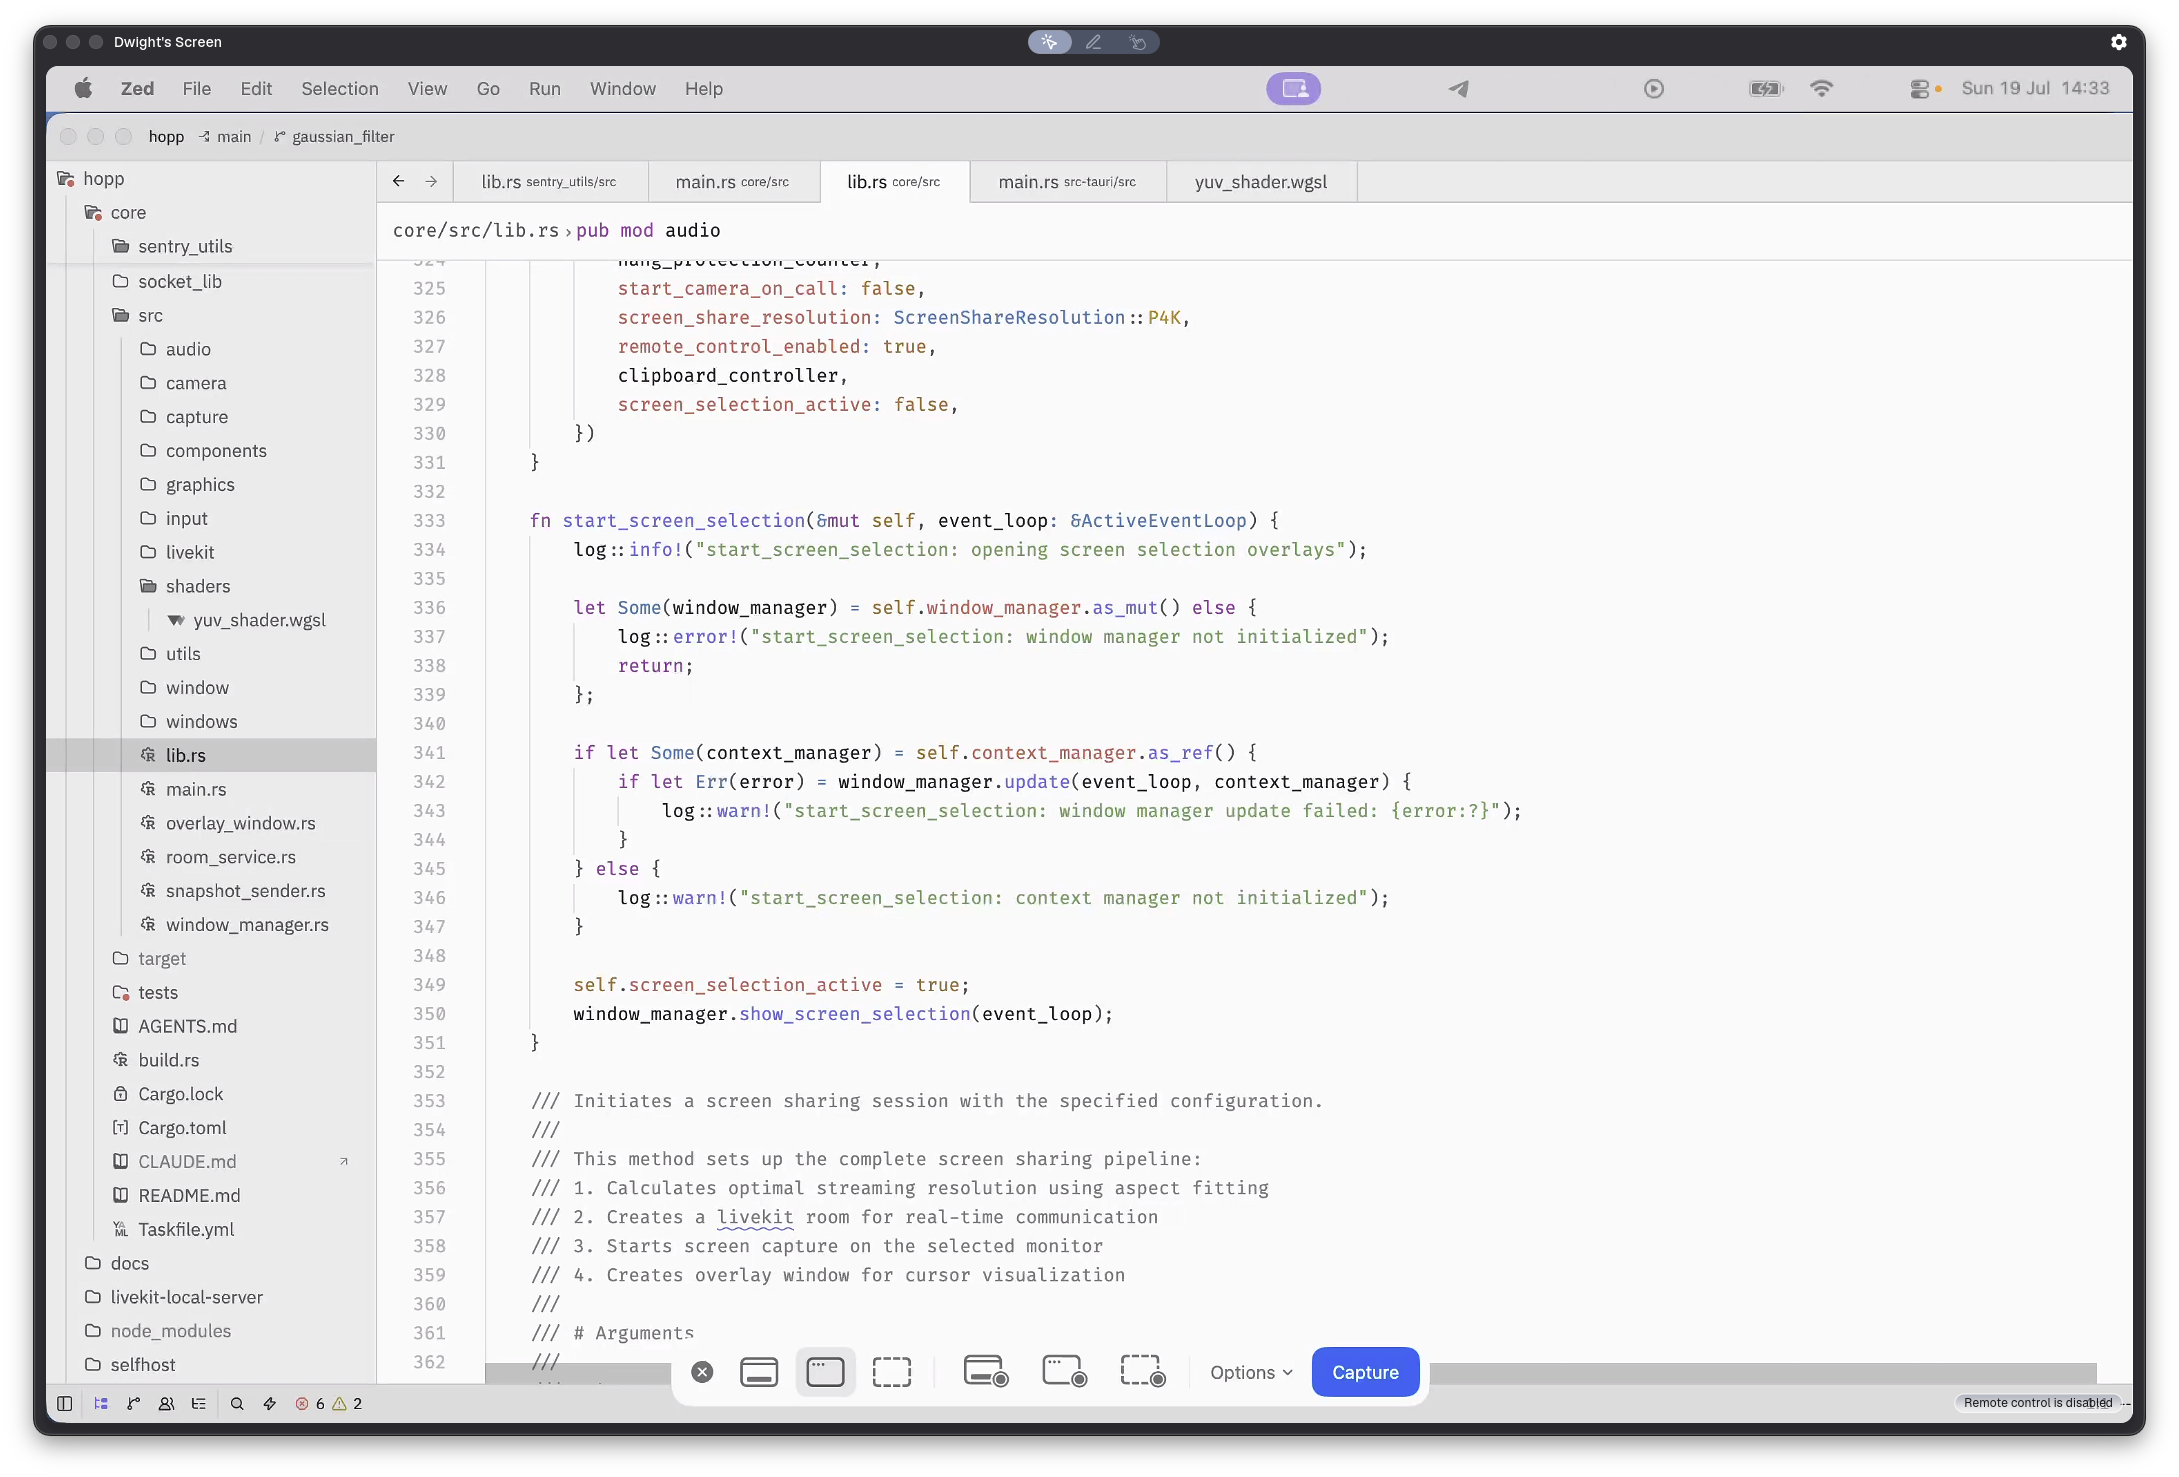
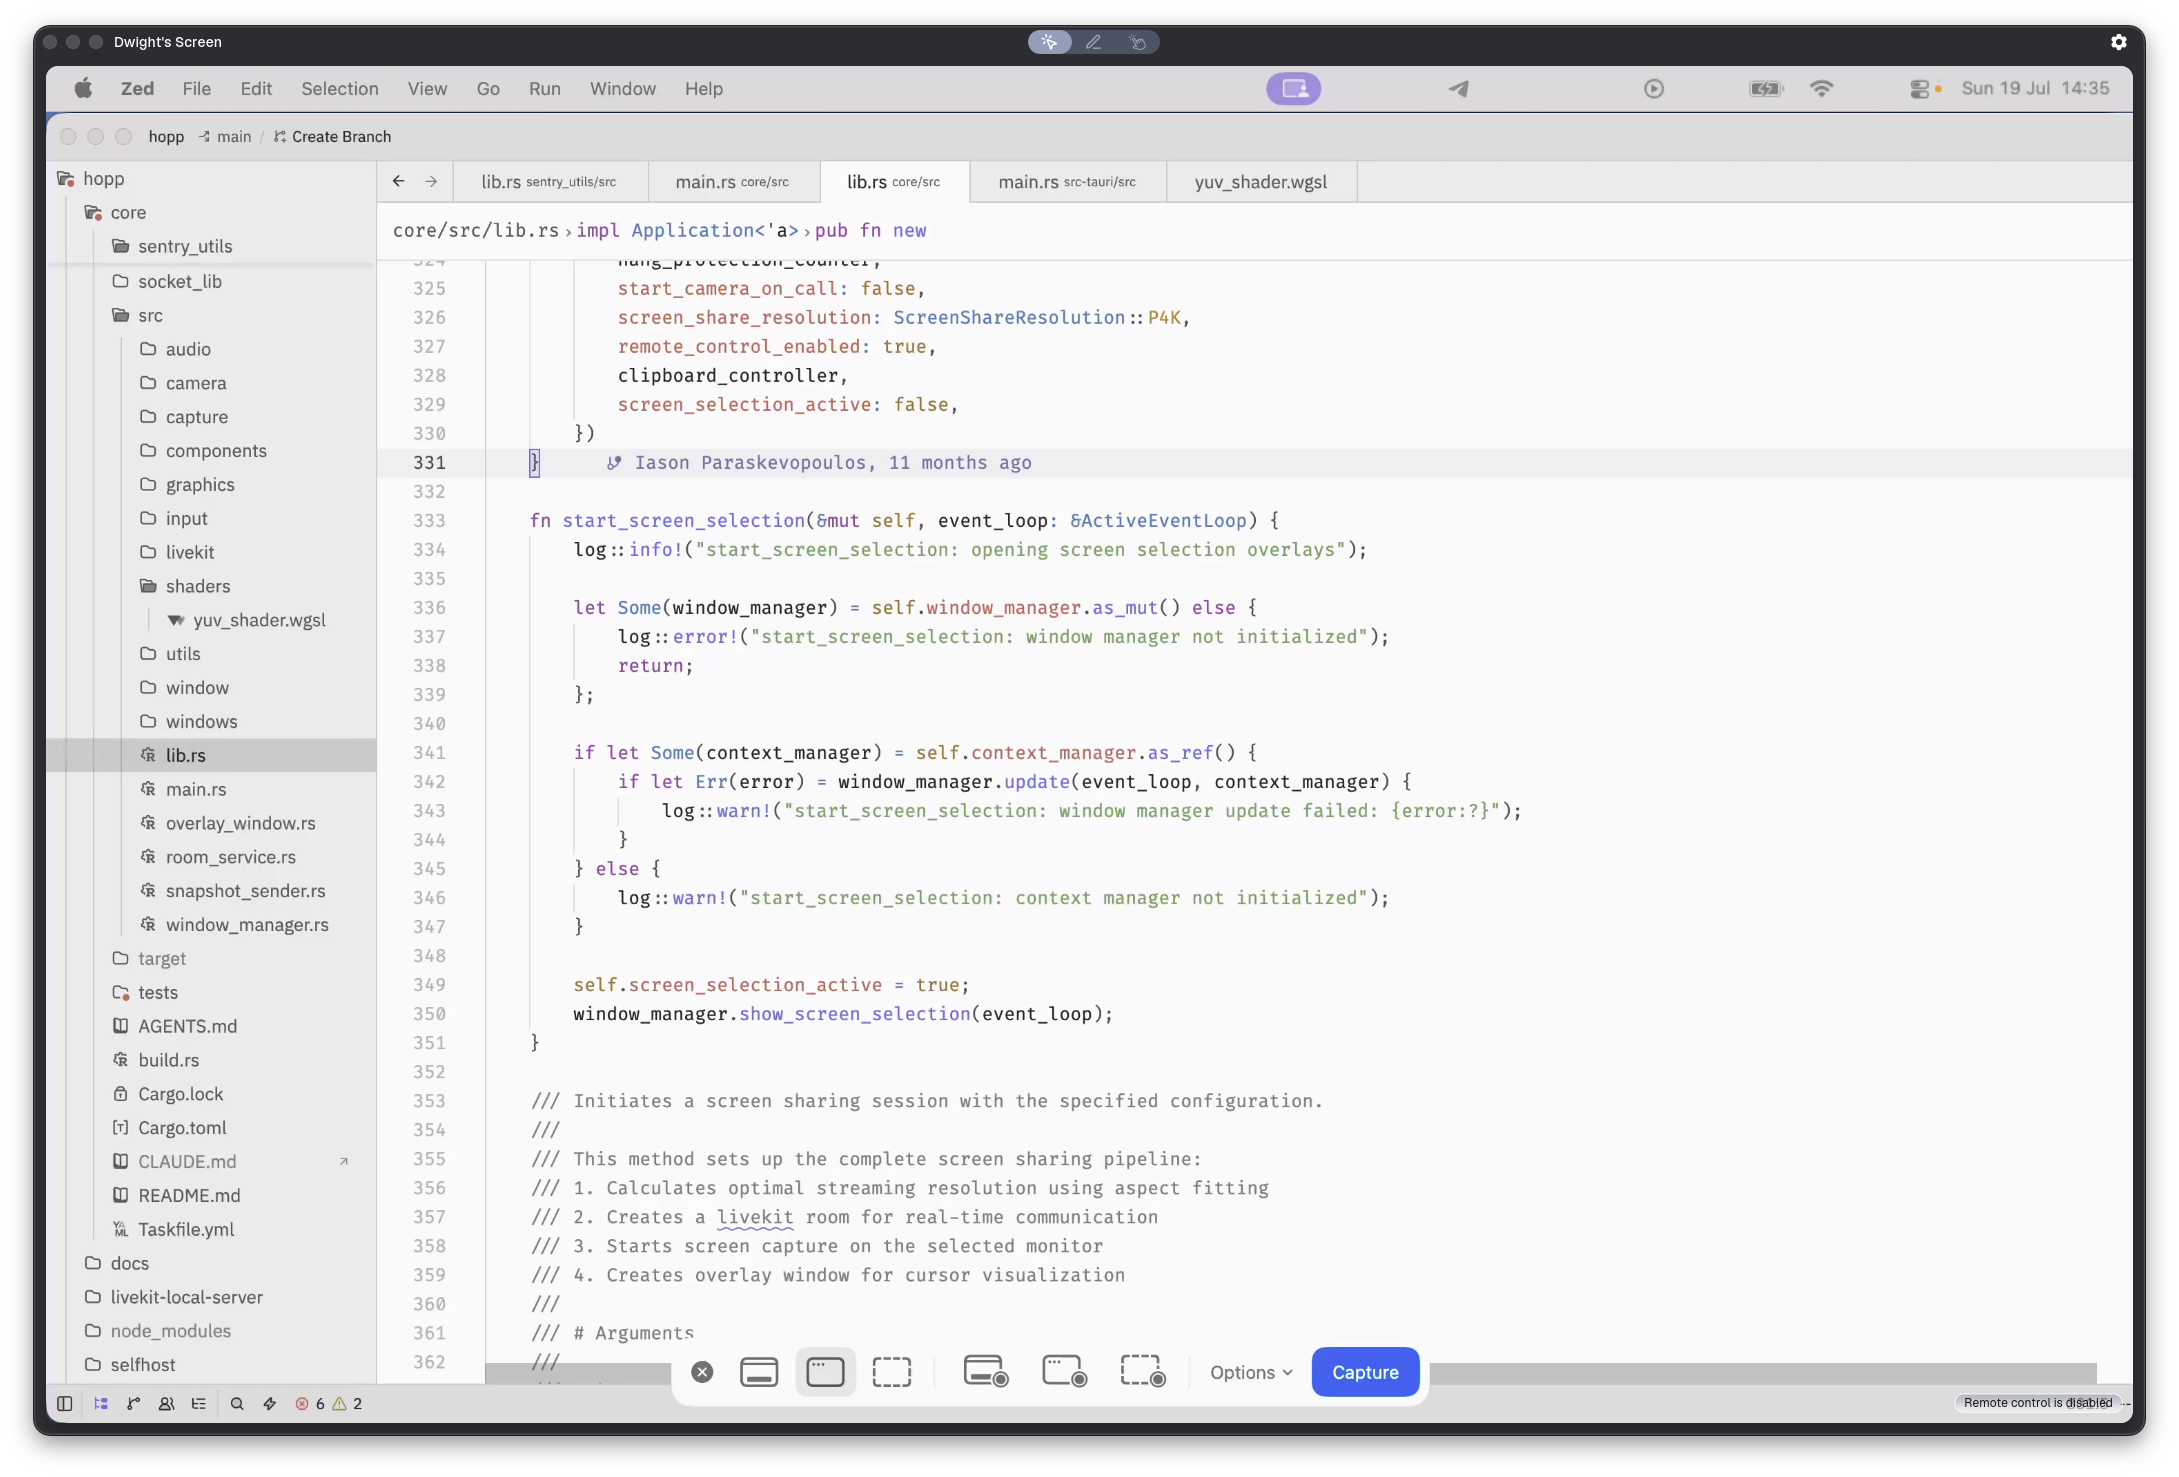
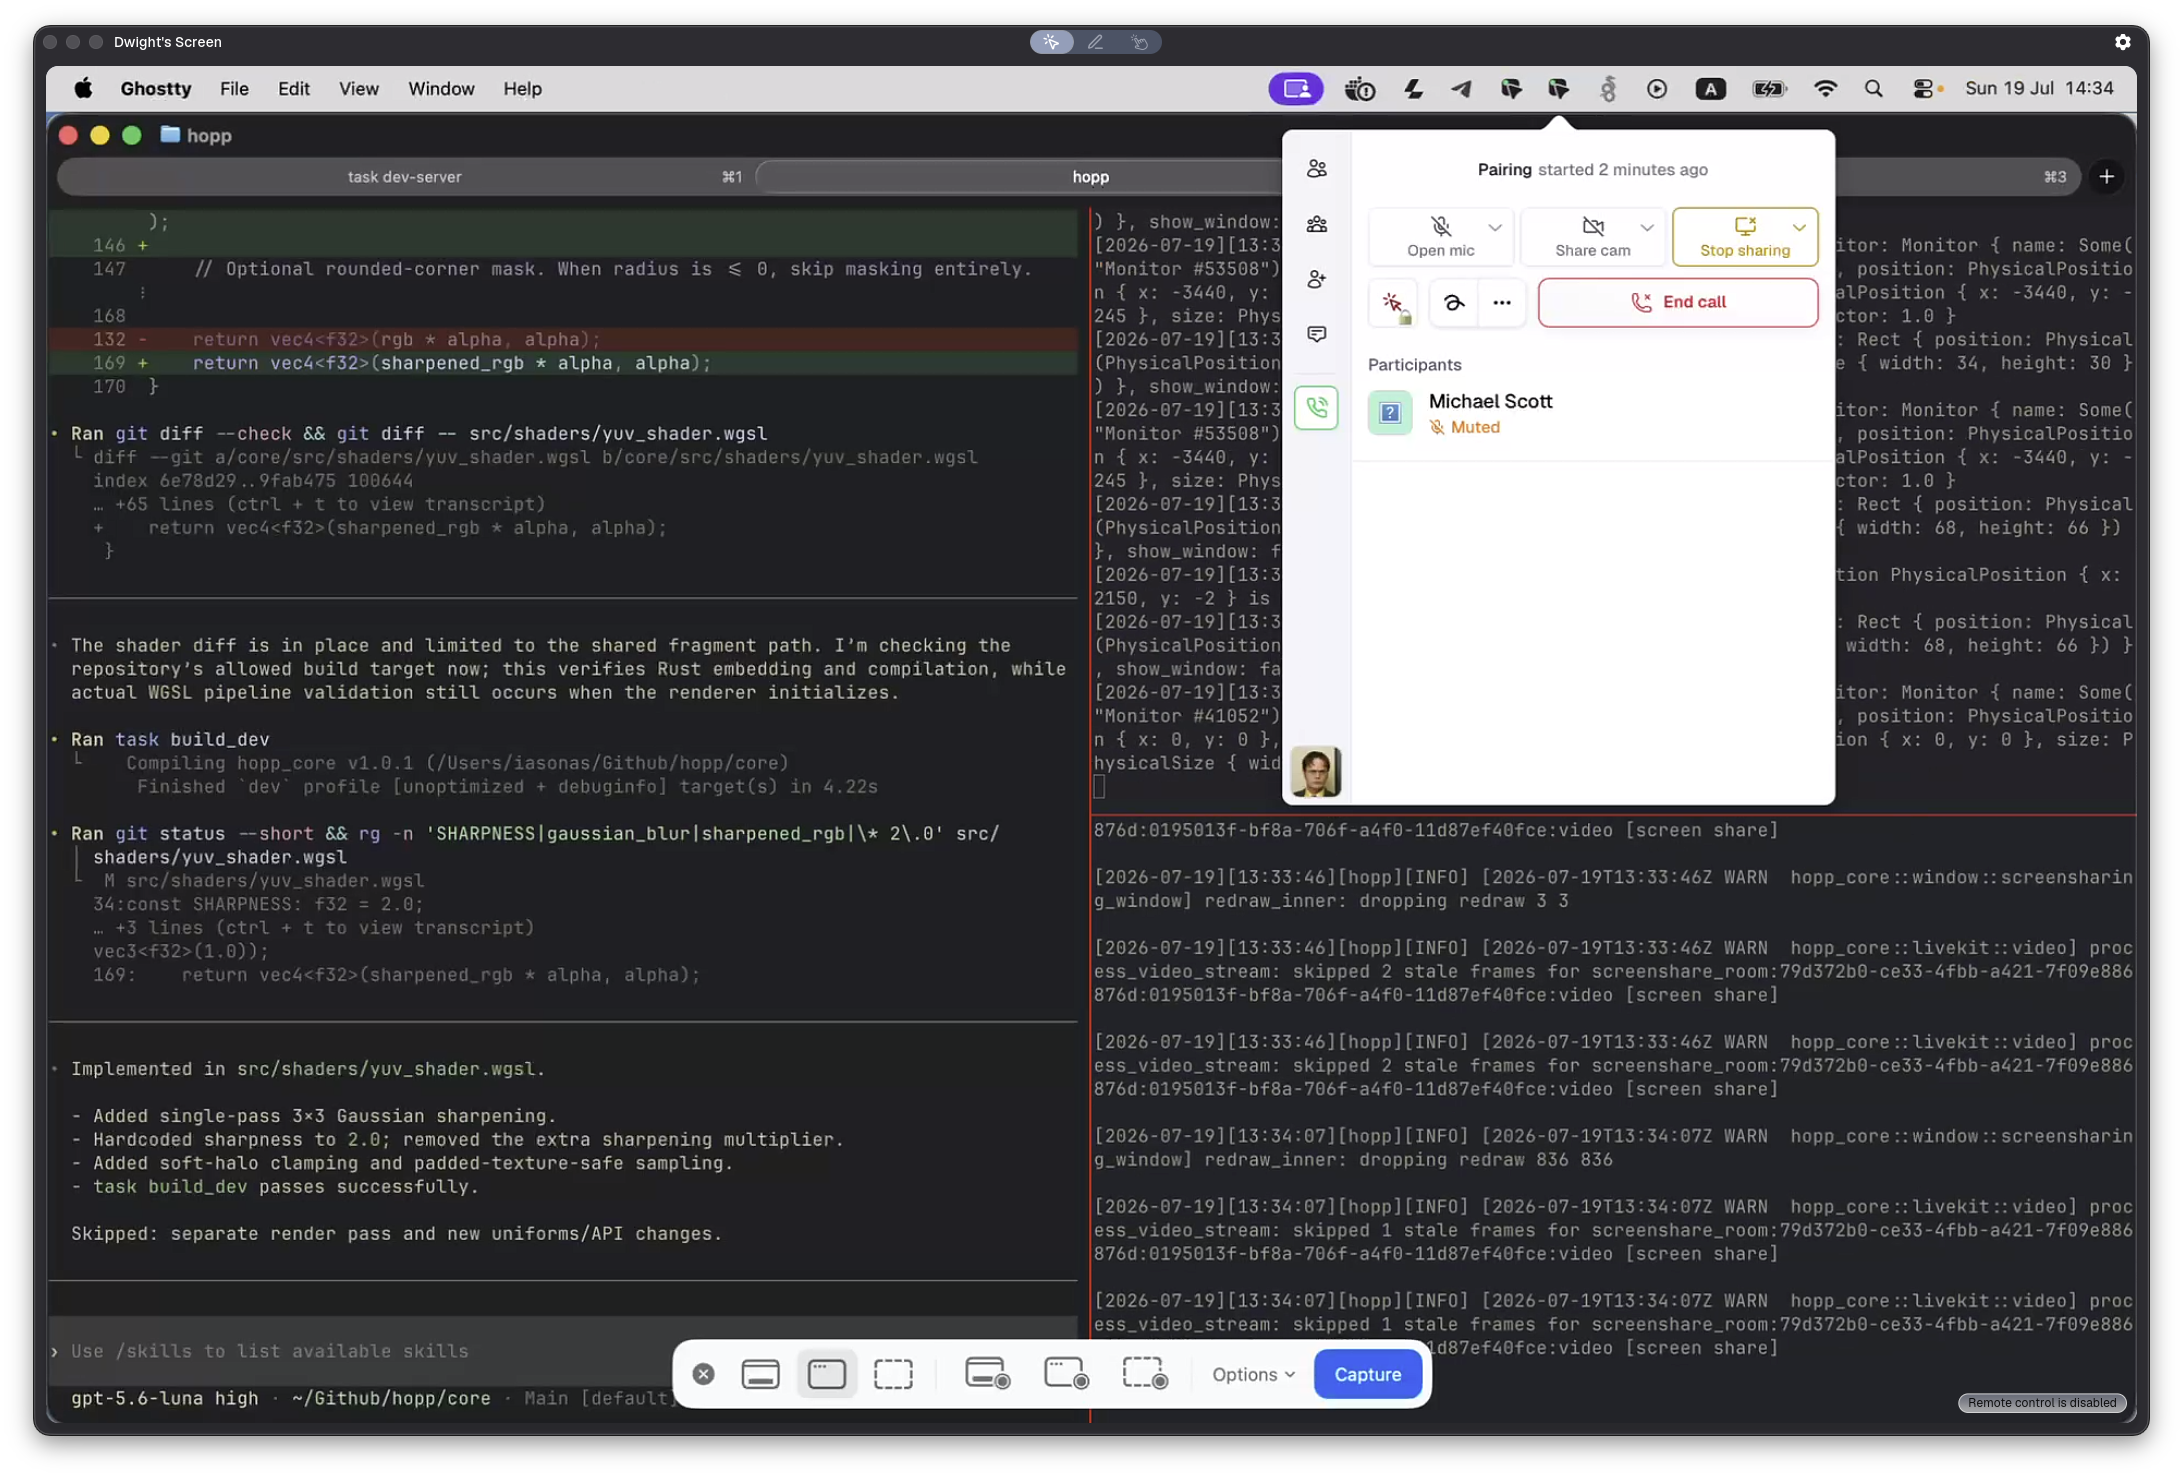
Before we start, here is a short description of Hopp and why I spent my Sunday learning about sharpening techniques. Hopp is a screen-sharing application tailored for pair programming, which means that the stream should have low latency and remain sharp. To keep the stream sharp, we share the screen at the display's native resolution by default (up to 4K), which provides a better experience than conventional screen-sharing tools.
Last week, a user on Discord said that the screen-sharing quality was not as good as that of a proprietary tool. After they shared the logs. The logs showed that this was because the screen they were sharing had a native resolution of 1080p. My guess was that the lower-resolution contains less information and when enlarged on the receiver the image becomes more blurry due to upscaling. So I thought that there must be a filter we could use during rendering to increase the sharpness. It turned out that this was much easier than I expected.
Why enlarged 1080p is blurry#
In screen-sharing applications, an image has two sets of dimensions:
- The stream dimensions, which match the resolution shared by the sender.
- The display dimensions, which match the size of the player on the receiver's side.
When you enlarge an image without an AI upscaler, you usually add pixels based on the values of neighboring pixels.
There are different scaling scaling methods, but let's explore two:
- Nearest sampling
- Bilinear sampling
Nearest-neighbor sampling#
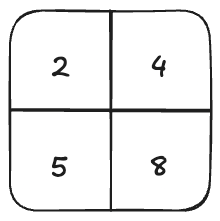
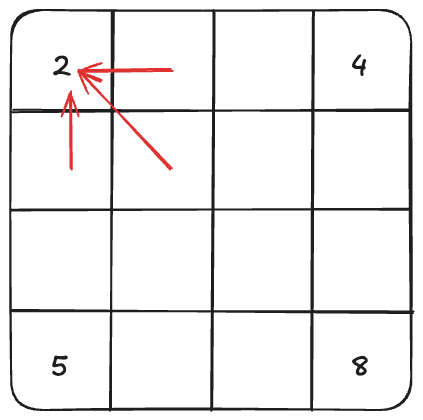
Each new pixel takes the value of the nearest original pixel. For example, if we want to enlarge a 2x2 image into a 4x4 image, it would look like this.
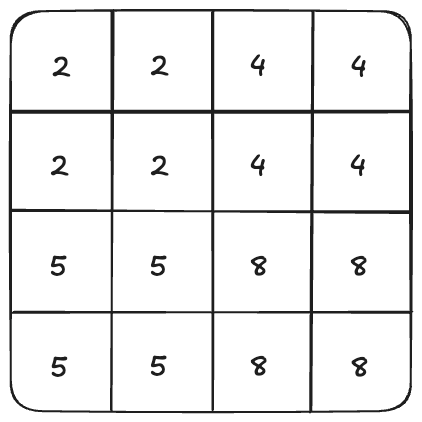
The greater the difference between the original and enlarged resolutions, the harder the edges and the more jagged the transitions become.
Bilinear#
One way to soften these hard edges and jagged transitions is to use bilinear sampling. Instead of taking the value of the nearest pixel, bilinear sampling calculates a weighted average based on the distance between the new pixel and each surrounding pixel. This produces softer but blurrier transitions. Hopp uses bilinear sampling.
How to sharpen an image#
The goal of sharpening is to increase contrast in an image. For example, when you have black letters on a white background, you want the dark areas to become darker and the white areas brighter. We can use the following formula to change the value of a single pixel:
output = input + detail * amplifier
Where:
- output: the modified pixel value.
- input: the initial pixel value.
- detail: a calculated value describing the difference between the pixel and its neighboring pixels.
- amplifier: a constant that amplifies the detail.
The simplest way to increase the contrast is with the following:
if input > threshold { input += detail } else { input -= detail }
Controlling the detail#
This, of course, is not very clever, as we want the detail to vary depending on the surrounding pixels. We want the value to
be 0 when the surrounding pixels are the same color, positive when our pixel is brighter than its neighbors so that it becomes
even brighter, and negative when it is darker than its neighbors.
Laplacian mask#
One way to achieve this is with a Laplacian mask.
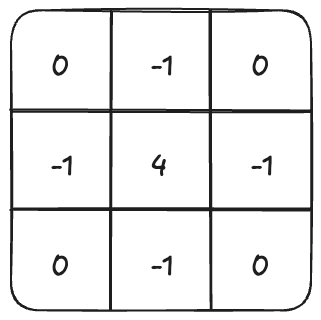
With the Laplacian mask, we take the sum of the elements and then divide by four to get the detail.
detail = mask_sum / 4
When all five pixels have the same value, the detail is 0 because the positive center weight cancels the four negative neighbor weights. If the center pixel is brighter than its neighbors, the detail is positive; if it is darker, the detail is negative.
You can see in real time how the Laplacian mask amplifies the contrast. With the sharpness slider, you can control the amplifier.
Gaussian blur#
Another way to get the detail is to use a Gaussian blur.
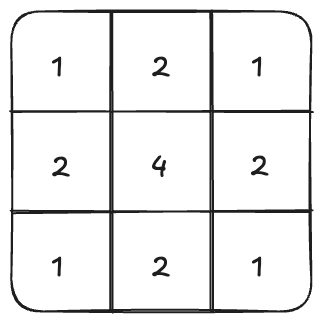
Here, we first multiply each element and its surroundings by this kernel, sum the values, and then calculate the average. This technique is used to blur an image and smooth the edges (the reverse of what we want).
Then we calculate the detail:
detail = input - blur
As with the Laplacian, the detail is zero when all the elements have the same value. It is positive when our element is brighter than its surroundings (the input is larger than the weighted average) and negative when our element is darker (the input is smaller than the weighted average).
The benefits of the Gaussian blur compared to the Laplacian are:
- Diagonals are included.
- It is less aggressive on noise.
You can see that as the kernel size increases, the sharpness increases too. This is because a larger kernel compares each pixel with a wider neighborhood.
This makes input - blur capture contrast across a broader area, so text strokes can appear more defined.
Larger kernels also require more samples per pixel, increasing the computational cost.
We do not want too much sharpening#
Sharpening can overshoot, making pixels along an edge much brighter or darker than their neighbors. The visible light or dark outlines this creates are called halos, and they can make text look less natural. You can see this in the Gaussian example with a 9×9 kernel and the sharpness set to 1.5.
One way to work around this is to limit how much the new pixel value can differ from the neighboring pixels.
local_min = min(3x3 area);
local_max = max(3x3 area);
new_val = clamp(new_val, local_min - overshoot, local_max + overshoot);
Without the overshoot allowance, pixels that are already the darkest or brightest in their neighborhood cannot move any farther. A small allowance preserves some sharpening while preventing extreme corrections that create visible halos.
In the Clamp activity view of the following explainer, the orange area shows where the correction would push the pixel value outside the allowed local range, while the black area shows where the correction is already within the limit.
Summary#
These were the methods I learned for sharpening an image over the weekend. You can compare all of them here.
Interestingly, I used Codex to teach me everything I wrote about here. I wanted to understand what these filters were doing, so instead of simply asking Codex to implement something, I asked it to create a JavaScript page and add the explainer components included here.
For Hopp, I chose a simple 3×3 Gaussian blur because I was happy with the visual improvement. You can see the change here. Thanks also to LumaSharpen, which I gave to Codex when I asked it to teach me about sharpening filters in shaders.
Please consider giving us a star on GitHub if you liked this post. Thanks for taking the time to read it.